How to Root the Samsung Galaxy S7 or S7 Edge (All Snapdragon Versions)
I. Before You Begin
- This will erase your phone so be sure to backup anything you need.
- You need a Windows computer to do this.
- This will give you root access but will not allow you to flash custom ROMs or a recovery. Do not attempt to flash a custom recovery or you could hurt the phone.
- You can however use some cool tweaks and Xposed to customize the phone instead.
- Make sure that secure boot in Settings > Lock Screen is disabled.
II. Setup ADB and the USB Drivers
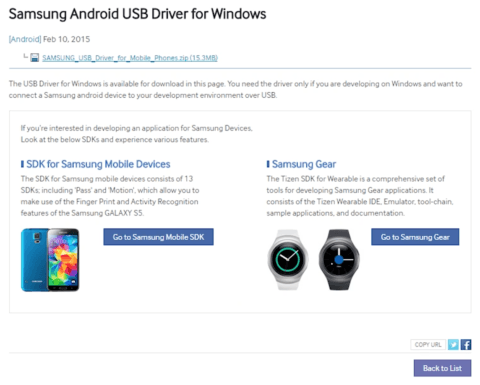
- Download and install the Samsung drivers here.
- Head to Settings > About Phone and tap on build number until it tells you you are a developer.

- Tap Back and tap on Developer Options and enable USB Debugging.

- Plug the phone in via USB and head to my how to setup ADB tutorial and install adb from there (takes about 30 secs to do, don’t worry). Once done, return to this tutorial.

III. Flash the Rooted Boot Image via Odin
- Download Odin and save it to your desktop.

- Download the rooted boot image for your device below and save it to your desktop (it is a .tar file, do not extract it, keep it as a .tar):
All Galaxy S7 Versions
All Galaxy S7 Edge Versions

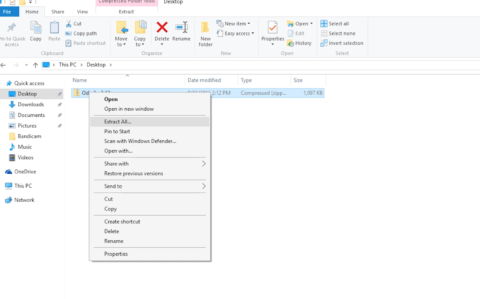
- Extract and open Odin.
- Turn off the phone and turn it back on by holding down Volume Down, Home and Power at the same time until we get to Download mode.

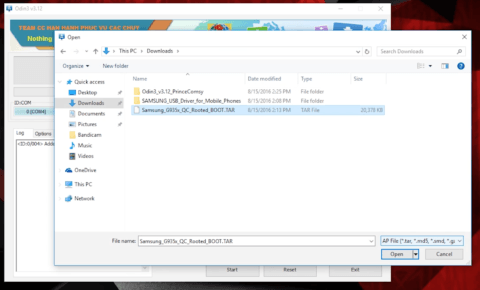
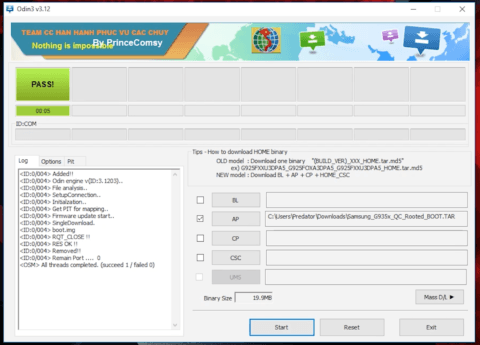
- Click on AP and select the .tar file for your phone you just downloaded.
- Click Start and wait for the device to flash and reboot.
All Galaxy S7 Versions
All Galaxy S7 Edge Versions
IV. Install SuperSU
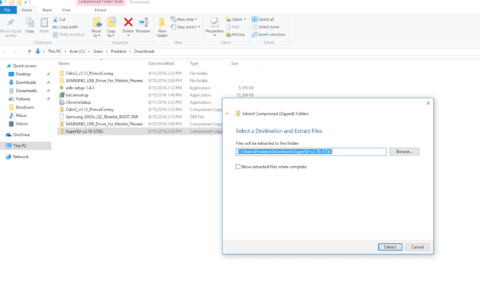
- Download the SuperSU installer and save it to your desktop.

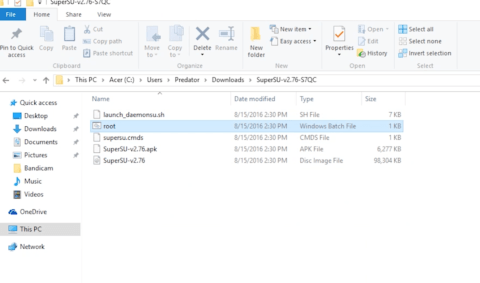
- Extract it after it downloads.
- With the phone still plugged in, double-click the root.bat file and wait for it to flash the phone.
- When that’s done, open SuperSU on the phone and make sure to IGNORE it asking you to update the binaries. The developer of SuperSU has said this might hurt the phone so just don’t update it. Ever.

There you go, you are rooted and ready to either install Xposed and begin customizing the software or, as I highly recommend, use the deboater and optimizer script to get rid of all that unwanted crap in one fell swoop (then maybe install Xposed after for further customizations).
I you ever need to undo this or just are having issues and want to start over, here’s how to unroot the Galaxy S7 and S7 Edge as well.
Hope that helped you guys and if it did please share the article as it is greatly appreciated and if you have any issues please post in the comments below and I’ll do my best to answer them as fast as I can.


0 comments